Sorry, this is about 3 weeks late---will try to get up to date soon! |
Wish List Supply List:
Serene Snowflakes Stamps #115438
Christmas Saying
Merry Moments DSP #115672
Very Vanilla Craft Ink, Black Gingham Ribbon,
Mini Library Clips, Sticky Strip, adhesive, Paper piercing tool
Punches: Word Window, ¾” circle, 1 ¼” square,
1 3/8” circle, Boho Blossoms
Real Red Cardstock cut 4 ¼” X 11”
Scraps of: Very Vanilla, Basic Black, Only Orange,Glorious Green,
and Real Red Cardstock
Directions:
- Score Real Red Cardstock at 3”, 5 ½” and 8”.
- Fold all score lines so that it looks like a ‘W’.
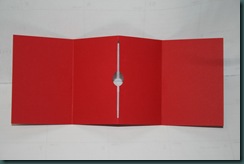
- The upside down ‘v’ will be the piece that forms the pocket for the gift card—at the point of the ‘v’, punch the Word Window punch twice across the fold but only about ½ the width of the punch as shown in picture A below. Then punch ¾” circle punch—1/2 the width—in the center to make pull tab.
- Stamp all images at this time using Very Vanilla Craft Ink.
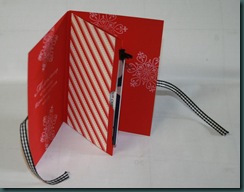
- Apply Sticky strip right next to one fold at the inside of the ‘v’. Close ‘v’ to adhere the 2 ends creating the pocket for the gift card as shown in picture B.
6. Run a thin line of tombow liquid glue or snail around the outside of your holder and apply black gingham ribbon.
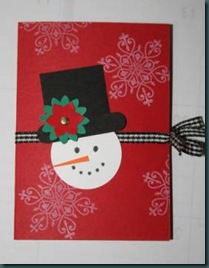
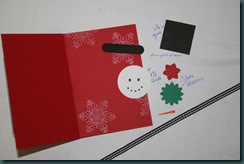
- Punch out all your images shown below in picture C and adhere to front of gift holder. Draw face.
- Attach 2” X 4 ¼” pieces of striped DSP to insides of the gift card pocket.
- Attach a mini library clip to secure gift card or money, then ‘wa la’, you’re ready to give your cute gift!
A.
B.
C.


No comments:
Post a Comment