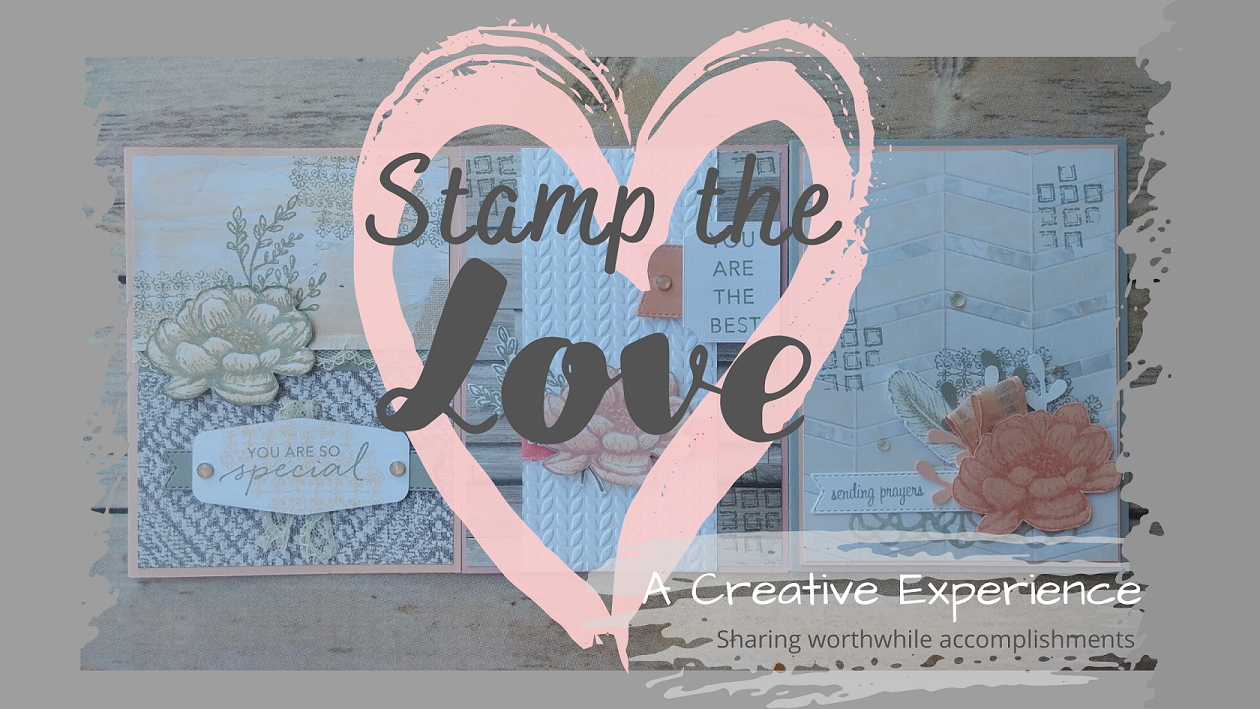
 Many of you enjoyed getting this set last month when it was on sale. I thought you might enjoy a few more ideas using this set. I hope you’ll take these ideas, change up the colors and make a bunch of these great cards to share with others.

*4 ¼" X 8 ½" cardstock for card base
*Score at 2 1/8" and 6 3/8"
*Add a "front panel" by adhering ONLY on left side
SUPPLIES/INSTRUCTIONS FOR CARD AS SHOWN:
*2 pieces DSP: 2" X 4"
*3 ¼" X 3 ¼" Colored Cardstock, 3" X 3" White (for front Panel)
*12" Ribbon-tie around front panel before adhere to card front
*Main Card: 4 ¼" X 8 ½", Score at 5 ½"
*Smaller Card: 3" X 8", Score at 4"
SUPPLIES/INSTRUCTIONS FOR CARD AS SHOWN:
*DSP for inside main card: 4" X 5 ¼"
*DSP for top of main card: 4" X 2 ¾"
*Stamped layer on small card: 2 ¾" 3 ¾" White
*Card Base: 8 ½" 5 ½"-fold in half, like for regular card, then "back-fold"
the top
*Add layer over the folded edge, just adhering on the left side
SUPPLIES/INSTRUCTIONS FOR CARD AS SHOWN:
*DSP: 1 ¾" X 5 ¼"
*Stamped Layer: 3" X 3" White, 3 ¼" X 3 ¼" Colored
*Card Base: 4 ¼" X 8 ½"-fold in half
*Layer can be any size/shape
*To adhere top layer, lay folded card on top of scrap of 5 ½" X 4 ¼" cardstock and adhere top layer up over the fold to make the total height the same as scrap-this will give you an overall size card that will fit in a regular envelope!
SUPPLIES/INSTRUCTIONS FOR CARD AS SHOWN:
*DSP: 4" X 4"
*Stamped Layer: 3" X 3" White, 3 ¼" X 3 ¼" Colored
*Ribbon: 14"


No comments:
Post a Comment